Completing an Oraloa Diamond Painting Kit is a rewarding and creative endeavor that results in a stunning piece of art. Once you've finished your masterpiece, the next step is to properly frame and display it. Framing your diamond painting not only enhances its aesthetic appeal but also protects it from dust, moisture, and potential damage. In this blog post, we'll provide you with a step-by-step guide on how to frame your Oraloa kit, allowing you to showcase your artwork with pride.
- Gather the Necessary Supplies: Before you begin framing, gather the following supplies:
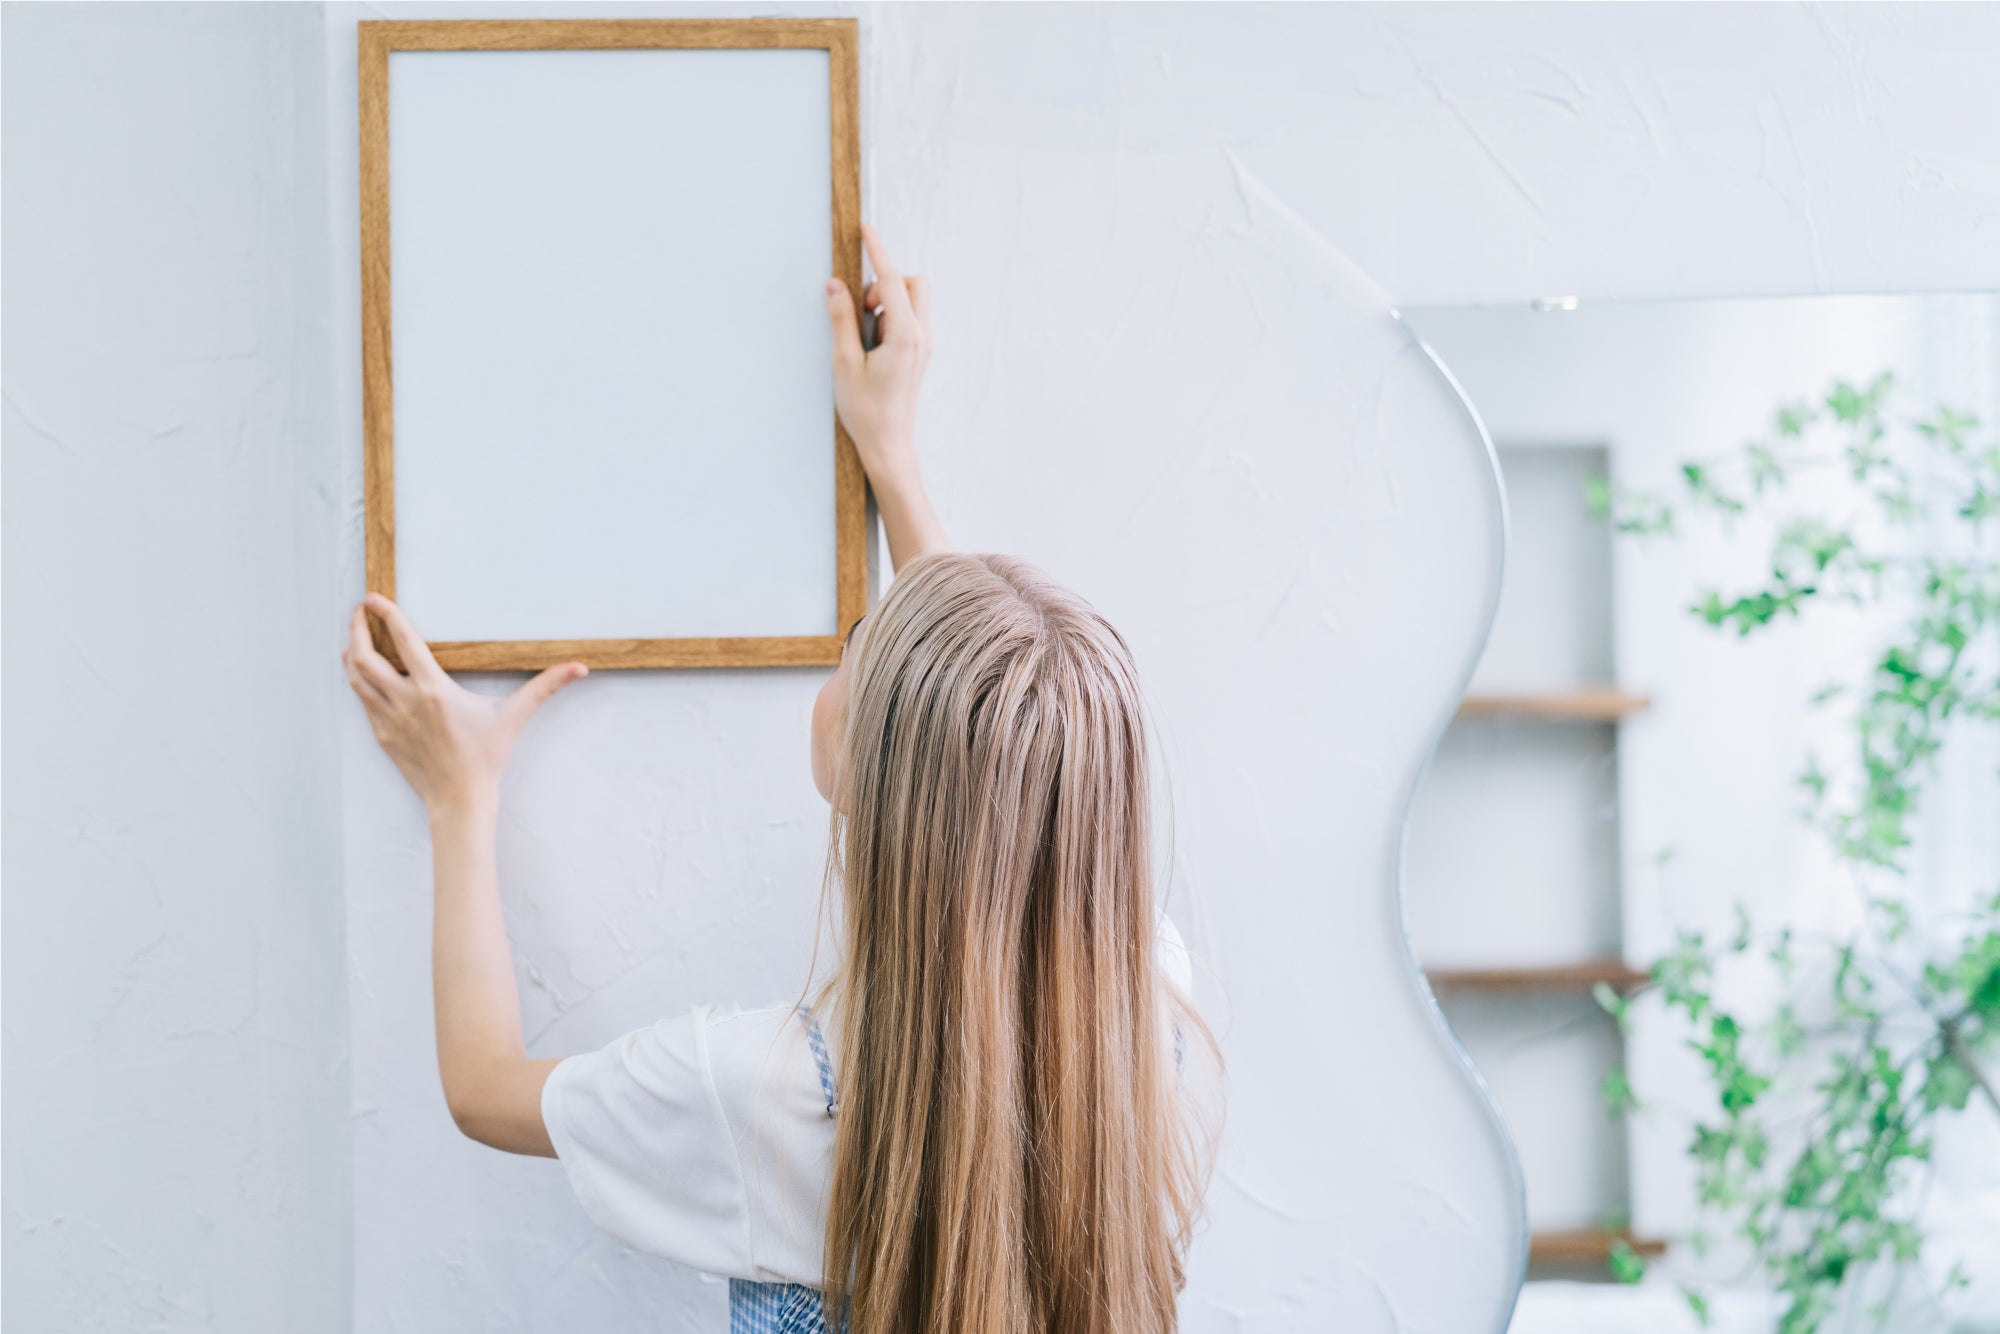
- A suitable frame: Choose a frame that matches the size and style of your completed diamond painting. Consider using a deep-set frame to accommodate the canvas's thickness and keep the diamonds protected.
- Acid-free mat board: Use an acid-free mat board as a backing for your diamond painting to prevent direct contact with the glass or acrylic.
- Glass or acrylic sheet: Select a clear glass or acrylic sheet that fits the frame size to protect the painting.
- Acid-free tape or adhesive: Use acid-free tape or adhesive to secure the diamond painting to the mat board.
- Hanging hardware: Depending on the weight of your frame, select appropriate hanging hardware, such as D-rings or sawtooth hangers.
-
Prepare Your Diamond Painting: Ensure your completed diamond painting is clean and free from any loose or stray diamonds. Gently roll a lint roller over the surface to remove any lint or debris. Avoid using water or any cleaning solutions, as they may damage the diamonds or canvas.
-
Attach the Diamond Painting to the Mat Board: Place the acid-free mat board on a clean and flat surface. Carefully center your diamond painting on the mat board, ensuring it is straight and aligned. Secure the edges of the canvas to the mat board using acid-free tape or adhesive. Be gentle to avoid damaging the canvas or diamonds.
-
Assemble the Frame: Remove the backing and the glass or acrylic sheet from the frame. Place the mat board with the attached diamond painting into the frame, ensuring it fits snugly. If necessary, use small clips or tabs to hold the mat board in place.
-
Protect with Glass or Acrylic: Clean the glass or acrylic sheet to remove any fingerprints or smudges. Place it over the diamond painting in the frame and secure it with the frame's backing. Ensure the glass or acrylic is clean and free from dust or scratches.
-
Check and Adjust: Double-check that the diamond painting is securely attached and the frame is properly assembled. Ensure the glass or acrylic is not touching the diamonds to prevent any damage or displacement. Take a moment to admire your framed diamond painting and make any necessary adjustments.
-
Add Hanging Hardware: Attach appropriate hanging hardware to the back of the frame, following the manufacturer's instructions. Consider the weight of the frame and choose hardware that can support it securely. Use a level to ensure the frame hangs straight on the wall.
Properly framing your Oraloa Diamond Painting Kit is the final touch that transforms your artwork into a stunning display piece. By following these steps and using high-quality materials, you can protect and showcase your masterpiece with pride. Take your time, pay attention to detail, and enjoy the satisfaction of displaying your diamond painting in all its brilliance. Let your creativity shine and inspire others as they admire your framed Oraloa kit.