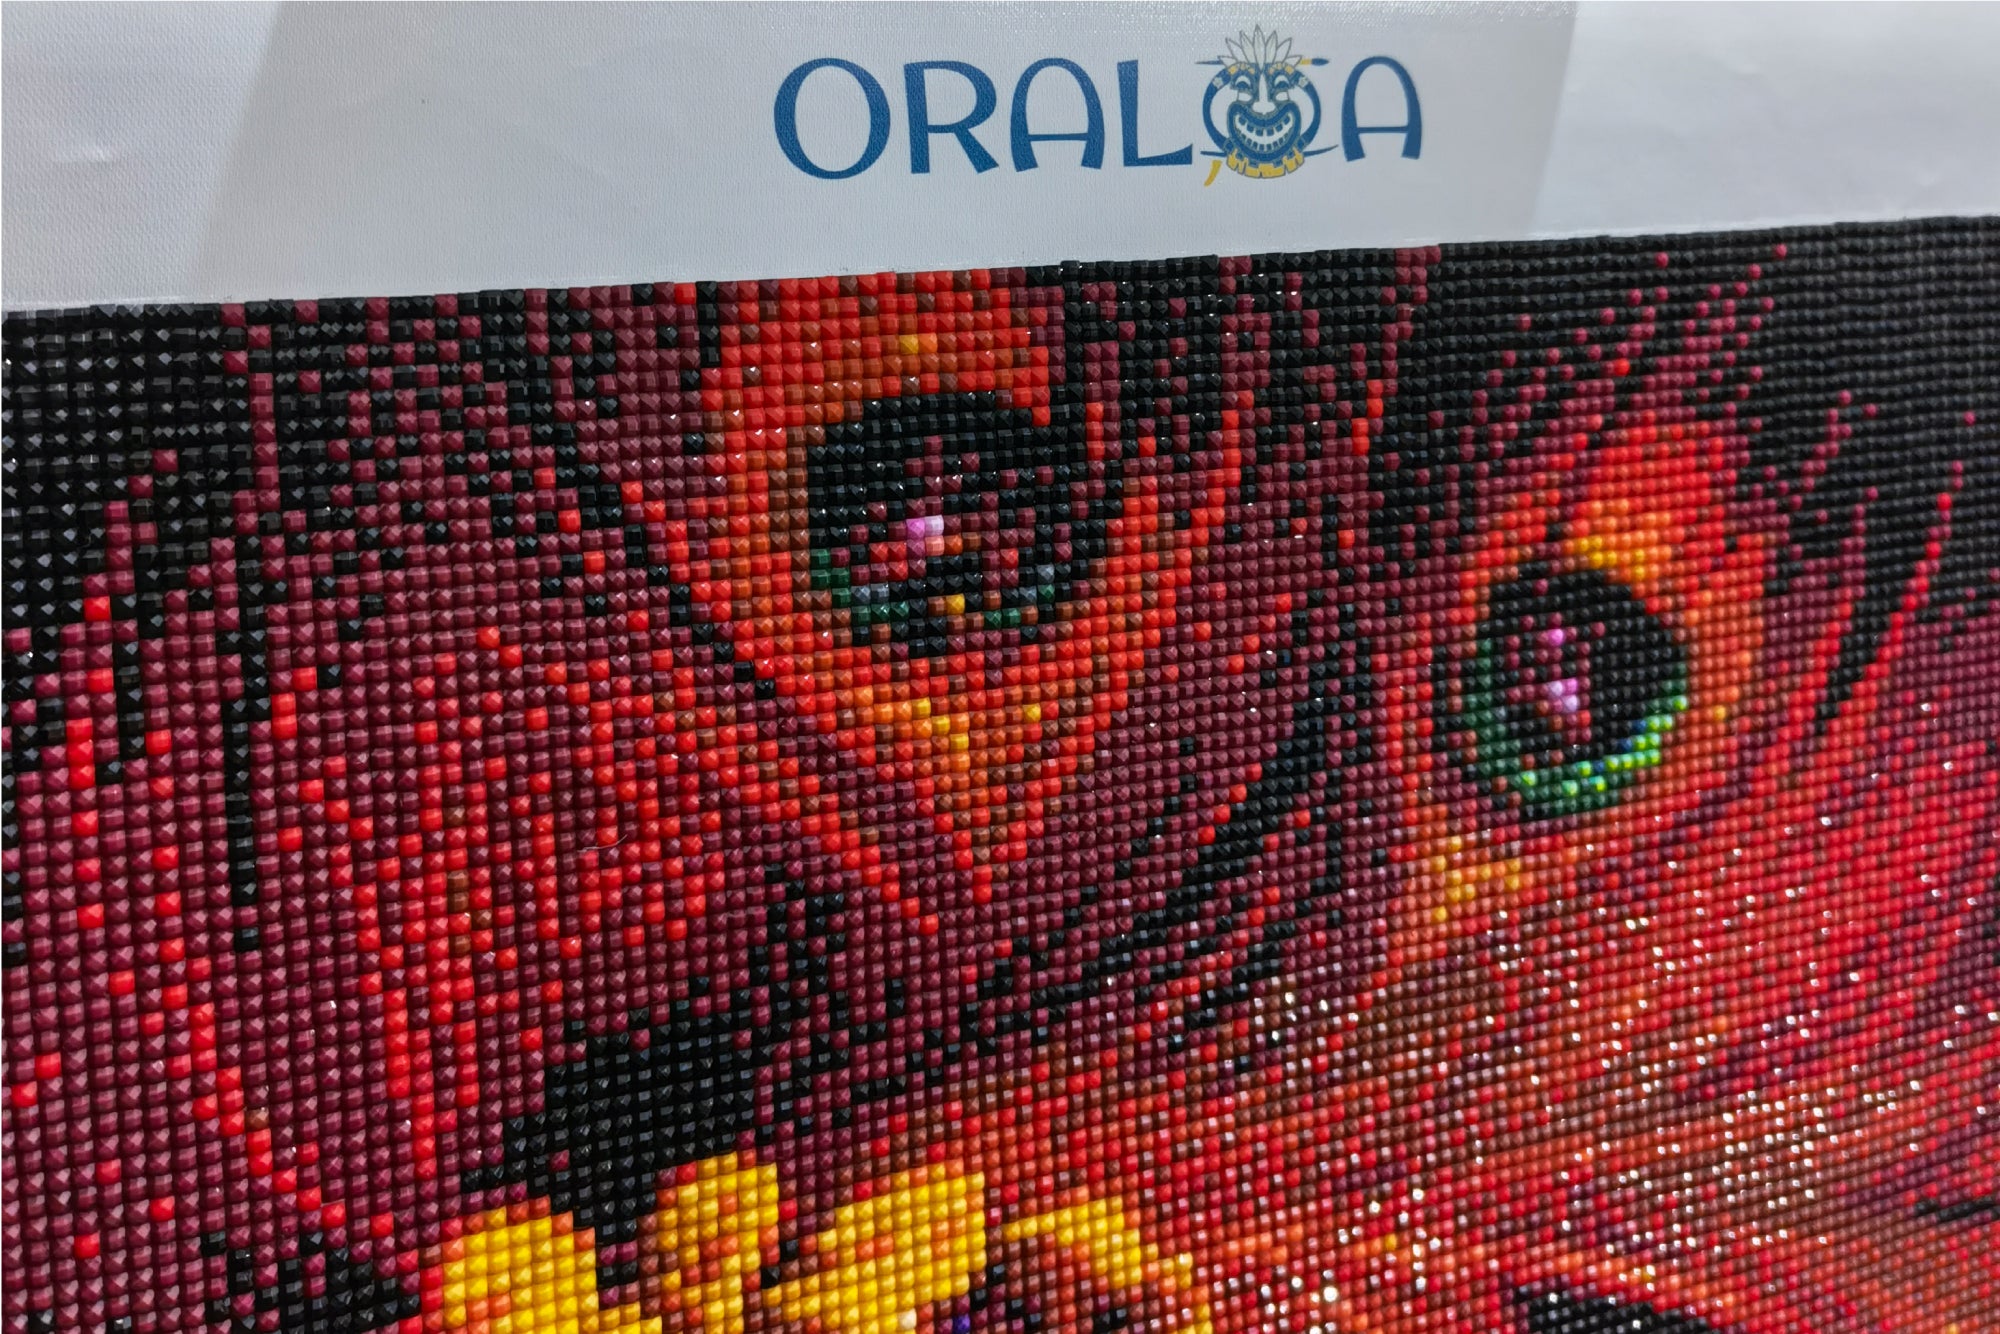
Diamond painting has gained immense popularity as a creative and relaxing hobby. It allows enthusiasts to create stunning artworks by placing tiny resin diamonds onto a canvas. While there are various techniques to complete a diamond painting, one method that stands out for its precision and visual appeal is the Checkerboard Method. In this blog post, we'll delve into the details of the diamond painting checkerboard method, exploring its benefits and providing step-by-step guidance to help you achieve dazzling results.
Understanding the Checkerboard Method: The diamond painting checkerboard method involves placing diamonds on the canvas in a checkerboard pattern, alternating between two colors or shades. This technique creates a striking visual effect, adding depth and dimension to the finished artwork. Instead of following a traditional row-by-row approach, the checkerboard method allows for a more intricate and mosaic-like appearance.
Step-by-Step Guide to the Checkerboard Method:
-
Prepare Your Supplies: Gather all the necessary supplies for your diamond painting project, including the canvas, diamonds, applicator tool, wax or adhesive, tray or sorting containers, and tweezers (if desired).
-
Understand the Symbol Key: Familiarize yourself with the symbol key provided with your diamond painting kit. The symbol key corresponds to the different colors or shades of diamonds used in the design.
-
Start with Two Colors: Choose two colors or shades of diamonds that you would like to alternate in the checkerboard pattern. It could be contrasting colors or shades that complement each other. Ensure you have an adequate quantity of both colors.
-
Apply Wax or Adhesive: Dip the tip of your diamond painting applicator tool into the wax or adhesive to help pick up the diamonds.
-
Begin Placing Diamonds: Start in one corner of the canvas with your first chosen color. Pick up a diamond using the applicator tool, and place it on the corresponding symbol on the canvas. Continue placing diamonds of the same color in a checkerboard pattern, leaving empty spaces for the second color.
-
Introduce the Second Color: Now, switch to the second color or shade of diamonds. Pick up a diamond using the applicator tool, and place it in the empty spaces left in the checkerboard pattern. Alternate between the two colors, ensuring an even distribution across the canvas.
-
Repeat the Process: Continue the process, working in sections or areas at a time, until you complete the entire canvas. Remember to press down gently on the diamonds with a rolling pin or the flat side of the applicator tool to ensure they adhere firmly.
-
Finishing Touches: Once all the diamonds are in place, step back and admire your stunning diamond painting created using the checkerboard method. If needed, make any adjustments or fill in any missed spots to ensure a seamless and captivating finished piece.
Benefits of the Checkerboard Method: The diamond painting checkerboard method offers several advantages:
-
Depth and Dimension: The alternating colors or shades create a visual illusion of depth and dimension, giving your artwork a captivating mosaic-like appearance.
-
Precision and Uniformity: The checkerboard pattern allows for precise placement of diamonds, ensuring a uniform and consistent result throughout the canvas.
-
Enhanced Visual Impact: The contrasting or complementary colors intensify the visual impact of your diamond painting, making it visually striking and appealing.
The diamond painting checkerboard method is a fantastic technique to elevate your diamond painting experience. With its precision, depth, and captivating visual effects, it allows you to create masterpieces that are sure to impress. So, gather your supplies, choose your colors, and embark on a mesmerizing journey of diamond painting using the checkerboard method. Let your creativity shine and unveil the brilliance of this technique in your unique

